


Accessory Quests have now been introduced with the Saint Nicholas event. I gave ranks 3 and 4 a try today since Water is my main element.
General layout:
Stage 1: 3x trash mobs
Stage 2: Mid-boss with no rage meter
Stage 3: Final boss
For Water, you'll want to bring overdrive gauge extension (Black Propaganda). I encountered a high debuff resist rate, so Mordred is recommended. You'll need overdrive extension for the R4 final boss regardless of element. The R3 final boss's raging overdrive can be bypassed with a sufficiently powerful Full Burst.
The trash are dangerous, especially in Rank 4. For water, the top mob has an AoE ATK buff. Kill it first and don't let it get the move off. The bottom mob has a high-damage single-target attack. Try and mitigate it. The second mob has an AoE that shouldn't do too much damage with ATK down debuffs. If it gets buffed, you're in serious trouble.
The Water mid-boss's overdrive attacks 8x for low damage. It's not too dangerous, but you'll want overdrive extension on it.
The final boss has an extremely dangerous raging overdrive, but it can be completely mitigated by Awakened Gaia. In R3, a Full Burst should be sufficient to nearly empty the Rage gauge. In R4, you'll likely be eating some overdrives.
Since this is a multi-stage fight, make sure your debuffs are ready each time for the next stage. You'll have to go all-out on the R4 trash because their HP is very high, and it's prudent to do the same for R3.
I easily cleared R3 despite forgetting to bring Sniper Shot. R4 is stupidly hard, and I had to use 2 elixirs to clear it. The first wipe was caused by both affliction resistance down and Black Propaganda missing the top trash mob, allowing it to buff the second mob twice. The second wipe was caused by the final boss's raging overdrive and debuffs falling off. On my second attempt, I was able to clear without an elixir. Once again, debuffs falling off on the final boss almost wiped me.
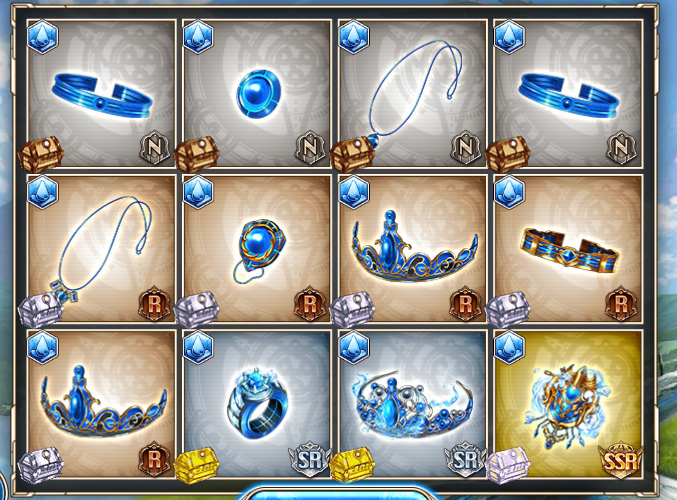
Drops from the second R4 attempt:
For your first clear of R4, you'll be awarded an SSR accessory. If you can clear it, it's a nice prize. Beware that multiple wipes can wreak havoc on your debuffs and make the fights much harder.
Results 1 to 10 of 406
Thread: Accessory Quests
Hybrid View
-
 Accessory Quests
Last edited by sanahtlig; 12-20-2017 at 03:42 PM.
Magicami Starter Guide: Rerolling for Success
Rerolling in Kamihime Project: How to get FREE SSR Kamihime
Sanahtlig's Kamihime Project Toolbox: Includes damage calculators and other useful tools, data, and info I've designed and collected. Make a copy to edit.
-
Despite maining Thunder, I barely was able to beat T3. Well, barely is probably an overstatement since nobody died and I just autoed the first wave, but all five were almost dead by the end of the run. Like, sub-1000 HP dead. Luck helped.
I didn't try it, but I am pretty sure T4 is entirely out of the question without heals. I guess that means looking at Sol when Miracle Ticket hits us...
-
Probably shouldn't have auto'd it. I just ran a rank3 with my thunder team and didn't have any problems with it on manual. I did lose 1 hime during the final stage because of the boss' raging overdrive 1shot one of my himes even with Raiko's damage reduction skill up and using double Yggdrasil, which was also my only source of heals. I might have been missing an atk down debuff, since I used it on the previous stage. As long as you save a full burst for its raging overdrive it's pretty easy. Its regular overdrive just increases its rage meter with no damage and she has a very long stun duration.
 Originally Posted by Slashley

All final bosses seem to be the same for each element, which only differ between ranks.
Rank4 on the other hand, I am very reluctant to even try, I might later for the Dark and Light accessories when they up.
Seems the goal as of right now is to get the SSR accessories which have up to 3 effects that drop from rank4 quests (i think?), or you can grab the easier SSR rings which only have 2 effects from the shop and the clear. It seems these effects are randomized too.
A little worried this might burn through my break limit mats if I start running rank3 (and eventually 4) 3 times a day.Last edited by Aidoru; 12-20-2017 at 02:57 PM.
-
Meanwhile, with rainbow..... lost Sol but all 3 attempts of stage 4 were fairly smooth, 1 attempt was close though. You might have been able to start clearing stage 4 now if you kept Mastema's staff, but it's a defender and those weapons are always useless right? Guess not. Originally Posted by Slashley
My water team was also able to clear all 3 stage 4 attempts without an elixir. And the best part, the only heals my water team had was Joan's regen. Too bad I didn't record those water team runs though. I'm very confident the rest of my teams can do the same, especially considering water is one of my weakest elements.
-
I have slvl20 Ygg and slvl16 Mastema. Which you'd know if you actually read my posts, but eh. Originally Posted by BakaHentai
The difference between us is that one of us has heals, and one of us does not.
-
Healing is of variable importance. In one run, I got no healing drops at all. In another, I got 3 of each type.
But yes, the main difference there is the team composition, not the build strategy.Magicami Starter Guide: Rerolling for Success
Rerolling in Kamihime Project: How to get FREE SSR Kamihime
Sanahtlig's Kamihime Project Toolbox: Includes damage calculators and other useful tools, data, and info I've designed and collected. Make a copy to edit.
-
The point I was making, is due to my many options of stat sticks + their SL 20s, off-element himes are far less likely to die on me. Doesn't matter how good the hime is if they die too fast. And my water team cleared stage 4 fire without any healing drops and only Joan's regen to rely on. Originally Posted by sanahtlig
Last edited by BakaHentai; 12-21-2017 at 10:18 AM.
-
That means you'd have access to Andro, which is what I was implying. Originally Posted by Slashley
-
I see, thanks Originally Posted by Slashley
Also, I think in the long run it is okay for me to enhance using the SR's, I could be wrong though
I don't know how to feel about Defense + for a single Hime but since it's Sol and she goes everywhere that's pretty nice; even though I normally have healer/buffers in the back Originally Posted by CaptainNoobCN
-
If you already have a solid source of SSRs, there wouldn't even be a point to keep the SR accessories afaik. Originally Posted by Neverbloom
Def+ for Sol is pretty darn important for her role, considering you don't bring Sol because you want more dmg.

 Reply With Quote


