
- FL
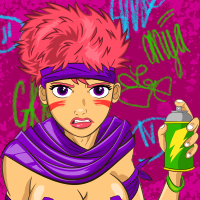
- FakeLayStripem

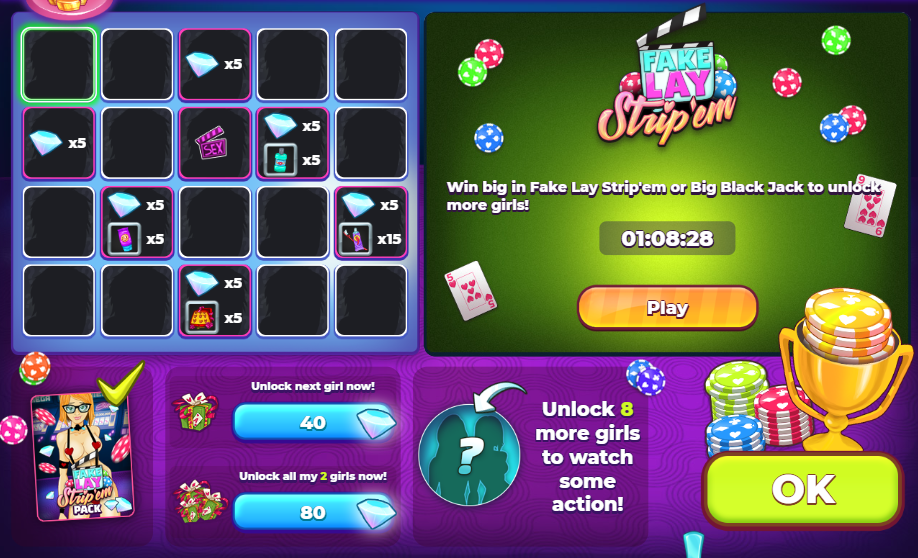
"Win big in Fake Lay Strip'em or Big Black Jack to unlock more girls!"
Season 1
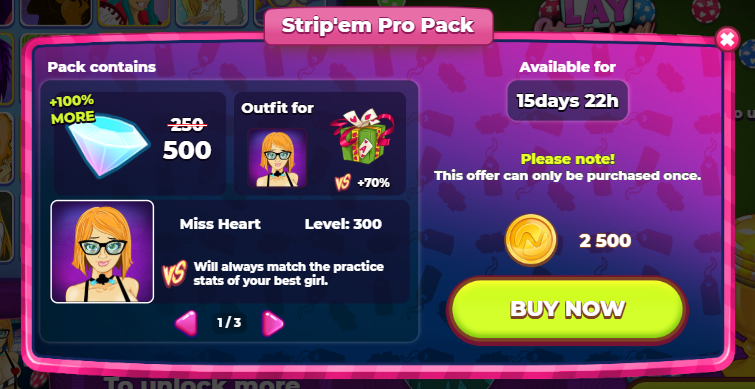
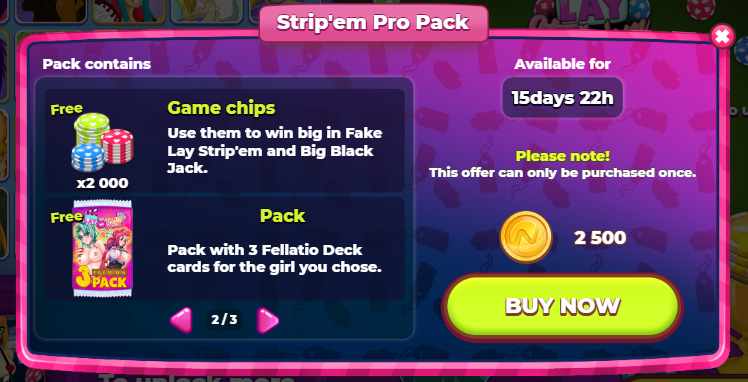
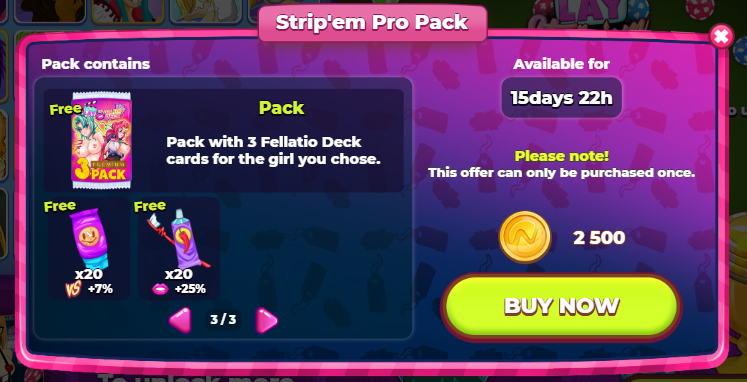
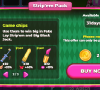
This event began on January 23rd and ran for 35 days. Shortly before the event went live there was a 3 day Nutaku anniversary sale for purchasing diamonds (20% bonus). Along with the event was a special offer (Strip'em Pro Pack) offering diamonds, a new character, and other goodies surprisingly at a lower price of 2500 Nutaku Gold this time around.

Strip'em Pro Pack details:

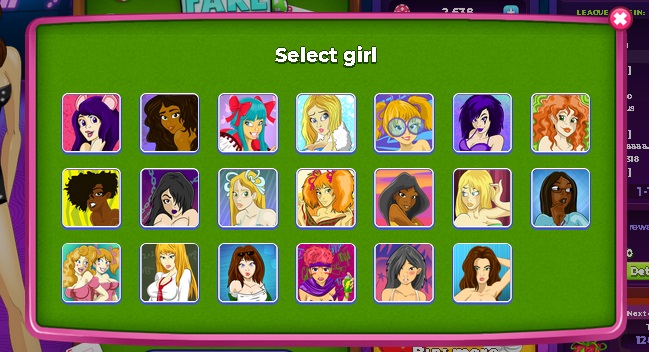
This event features quite a bit and it is also Fake Lay's first ever (real) multiplayer event. It has a completion table like Get Clean and previous events. The rewards are the same (without the stamina boost) but with the 8th girl unlocked featuring a sex scene with the Dealer and Miss Heart. The Fake Lay team has given players a new option to buy all outfits for girls that have been unlocked at least once for 20% off. In my case I have only reached Anya therefore my price would have been 540 diamonds to unlock all outfits for my girls. It's unknown how many girls you need to have unlocked to qualify for the discount, but I would guess you would need to unlock girls past Lola.
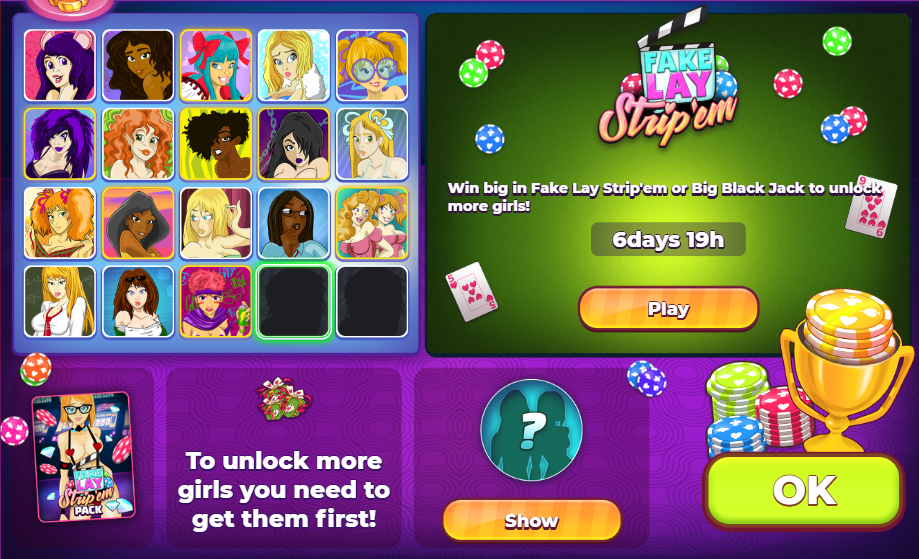
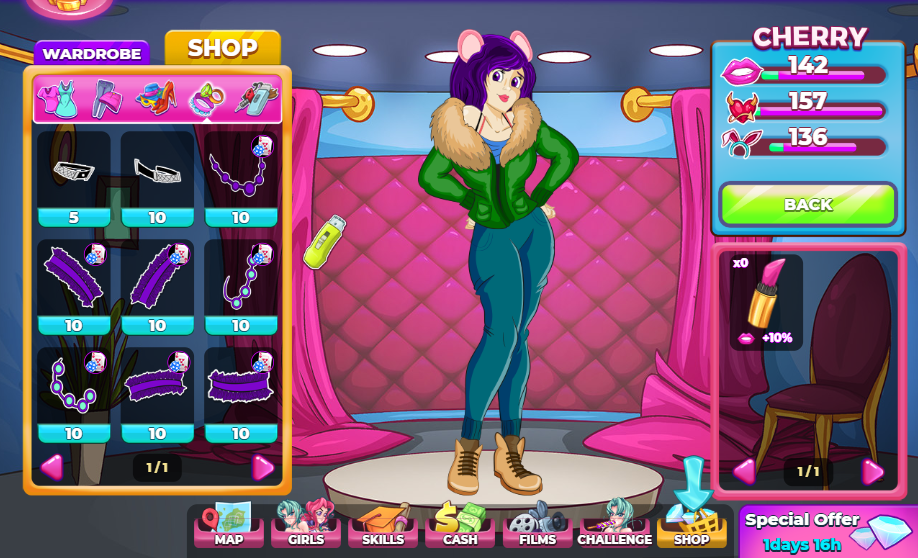
There's two parts to this game you can play: Strip'em or Big Black Jack. This event also features two leaderboards: a daily leaderboard and an all time leaderboard. Both parts of this game contribute to the leaderboards. The game also presents you some options to purchase more chips with diamonds, claim 200 daily chips, or to dress up your girl. Another addition to this event is that every girl has received all new accessories. Each girl seems to have at least 3+ (some have much more) accessories, and the best part of these accessories is that they each have a VS stat boost and you can actually wear them with a 70% VS event outfit (not all girls are confirmed, but so far it seems to be this way). The accessories do not replace any clothing items and can be worn with any clothing item. They are still required to be purchased with diamonds however (prices vary from 4 diamonds to 10 diamonds a piece).

Season 2
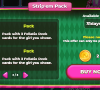
This event returned, and began on May 23rd and ran for 31 days. Along with the event was a special offer (Strip'em Pack) offering diamonds, a new character, and other goodies surprisingly at a low price of 2500 Nutaku Gold this time around.
Strip'em Pack details

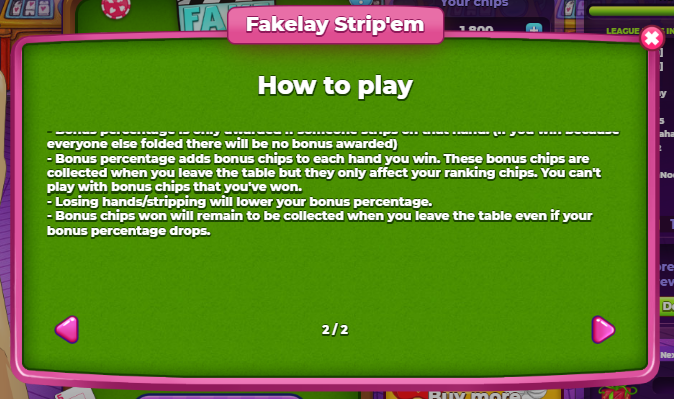
This event is pretty much the same as Season 1, but there are some tweaks. The special scene unlocked with the 8th girl is the same scene except Miss Heart is replaced with Miss Caro. Bonus chips are now restricted to leaderboards statistics and for the chip winnings requirement. The bonus chips cannot be used as a chip reserve. This change makes the requirements for the outfits much more difficult. Casino chips that are purchasable have been increased in quantity. The bonus chips modifier has been fixed so that only chips bet on your behalf no longer count in your bonus totals so there will be no exploiting with all in tables.
Strip'em
First we'll go over Strip'em. Strip'em is basically another version of Texas Hold'em. Below is a 5 minute video explaining how that works.
https://www.youtube.com/watch?v=GAoR9ji8D6A
So that's the basics of this game, but this is Strip'em, so there's some more about this. There's a question mark button on the top right corner of this game explaining it.
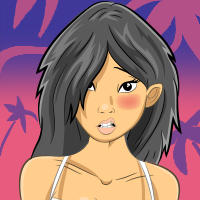
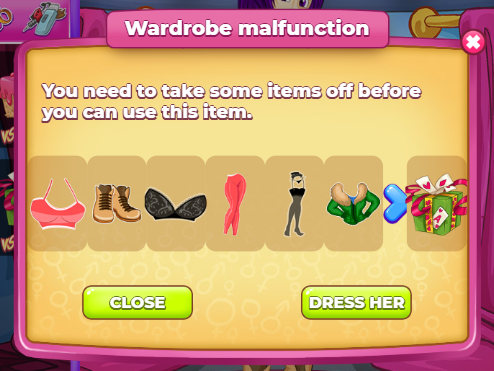
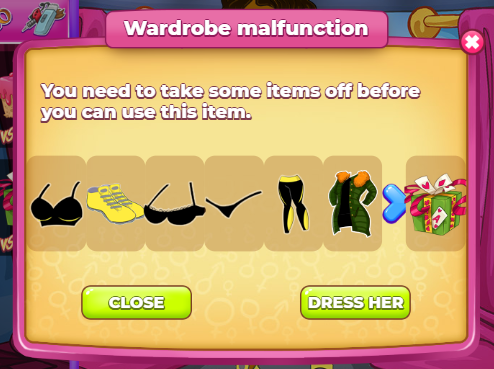
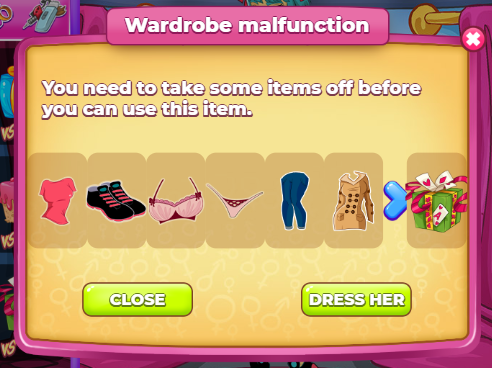
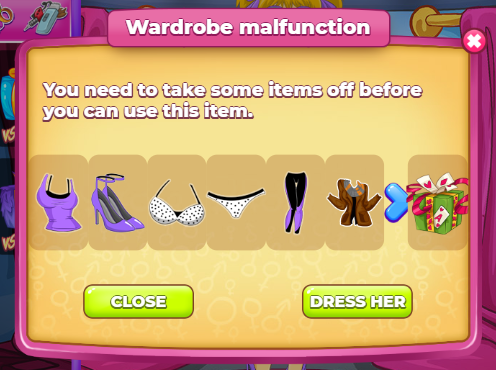
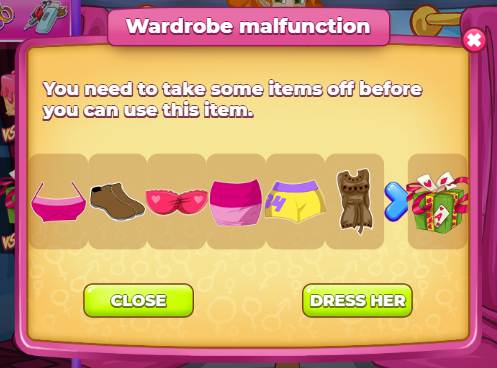
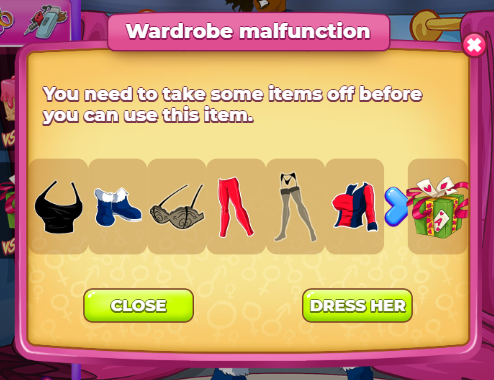
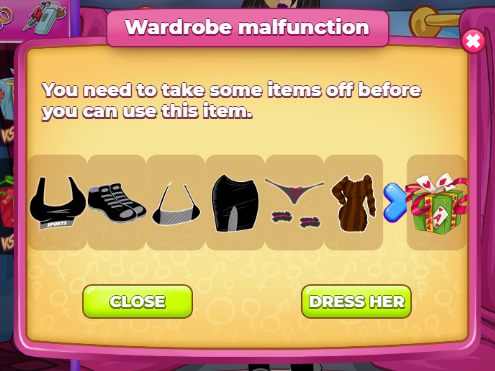
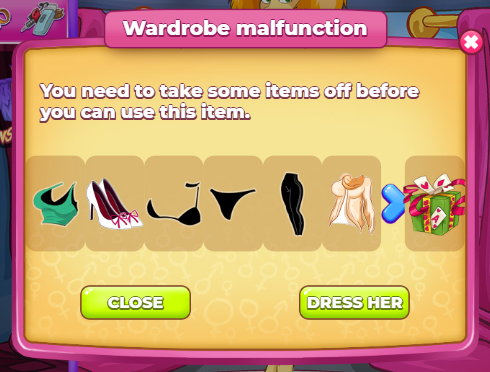
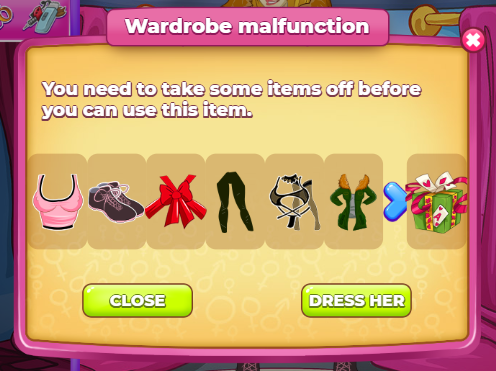
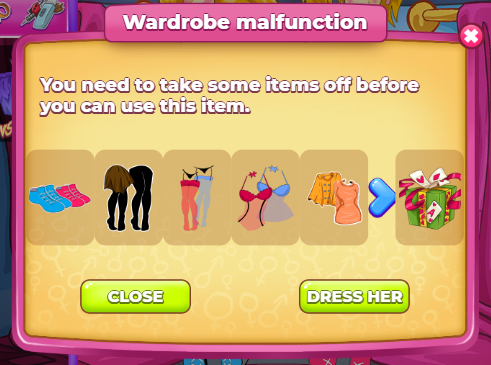
Before you even play this, go get some clothes for a girl and DON'T USE A SINGLE PIECE EVENT OUTFIT. It's like playing naked; be the one with the worst hand once and your bonus percentage is gone. Season 2 now gives you a popup warning you to put on clothes. You can use any girl you like, however some girls are much preferred to be used over others.


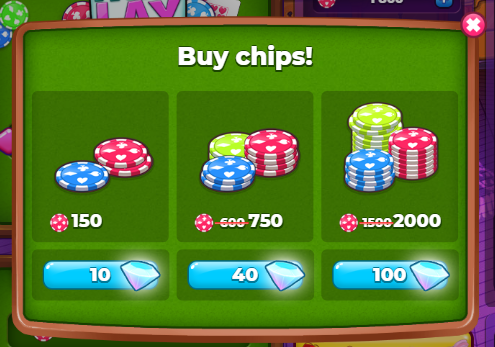
You'll need to have 80 chips minimum (400 if playing in Season 2's bigger table) to start this, and can enter with no more than 200 chips (1000 for the bigger table) so stock up on some daily reward chips for a few days, get lucky, or just buy chips for an expensive price of diamonds (strongly not recommended). Should be obvious but premium girls are not permitted in this event. They cannot be selected (despite the clothing button showing an Orgasma outfit). Chip quantities have increased while diamond pricing has decreased for season 2. Previously 200 chips was 20 diamonds, 600 chips was 50 diamonds, and 1500 chips was 100 diamonds.
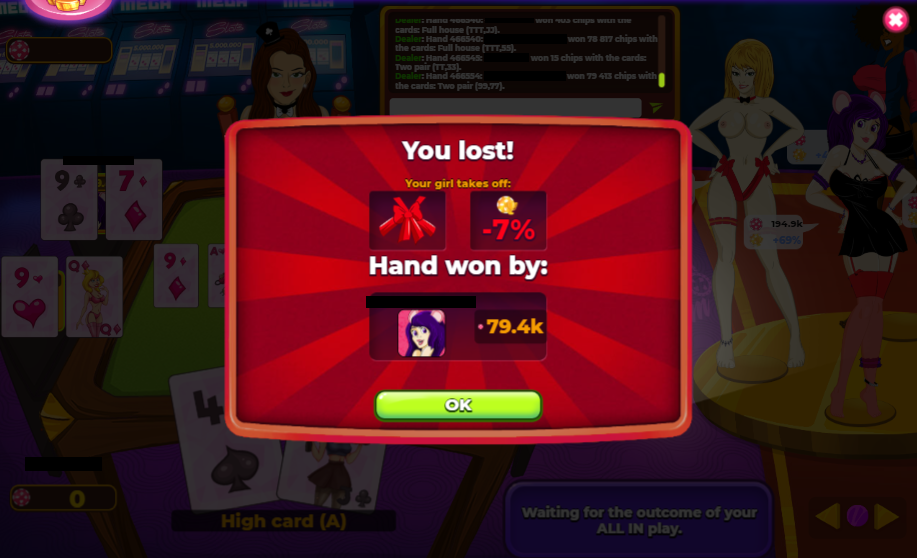
WARNING: This part of the game is buggy. Do NOT leave the table if you have to restock on chips. You WILL lose your bonus chips making your session a complete waste (unknown if fixed in later Seasons). This game at times can randomly kick you from tables and there is an idle kick which will activate if you let the timer run out 3 times in a row at the start of the hands without pressing one of the button commands. This will also result in you losing your bonus chips (unconfirmed in later Seasons). There are some other glitches present such as the wrong girl being stripped at the hand results, but those are minor (and in that situation only a graphical glitch). Season 2 seems to bug out the popup results of hands so you'll probably be looking at the chatbox for win results. The graphical glitches seem to be nastier during Season 2 as well.
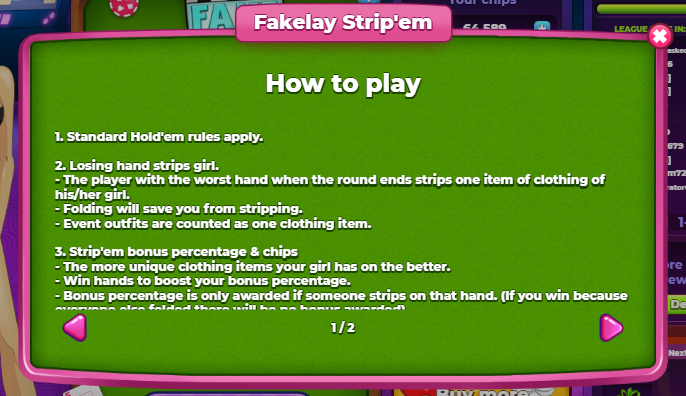
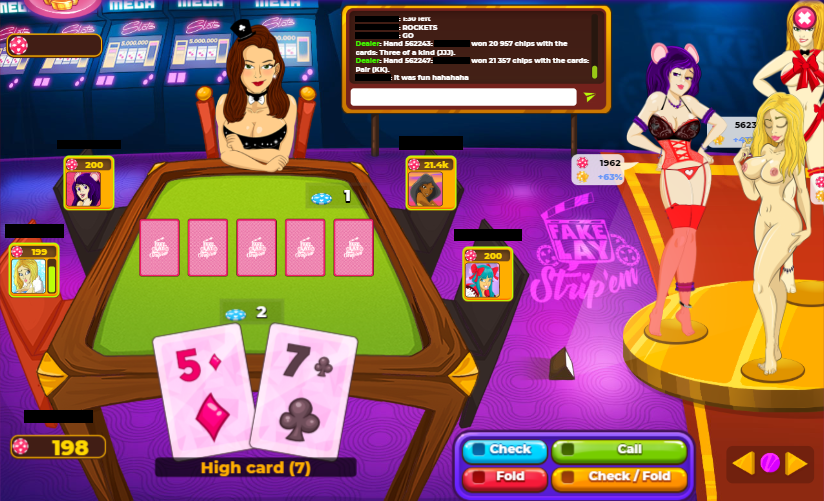
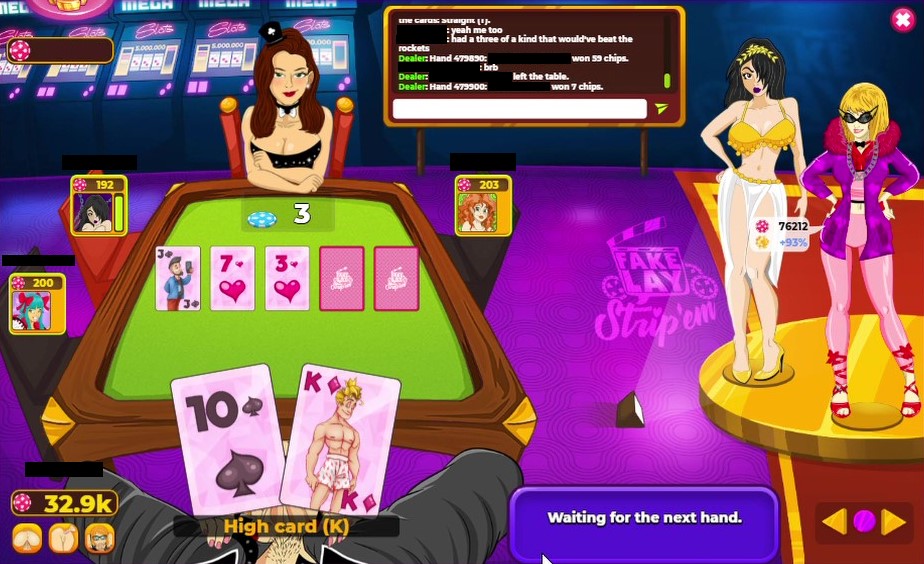
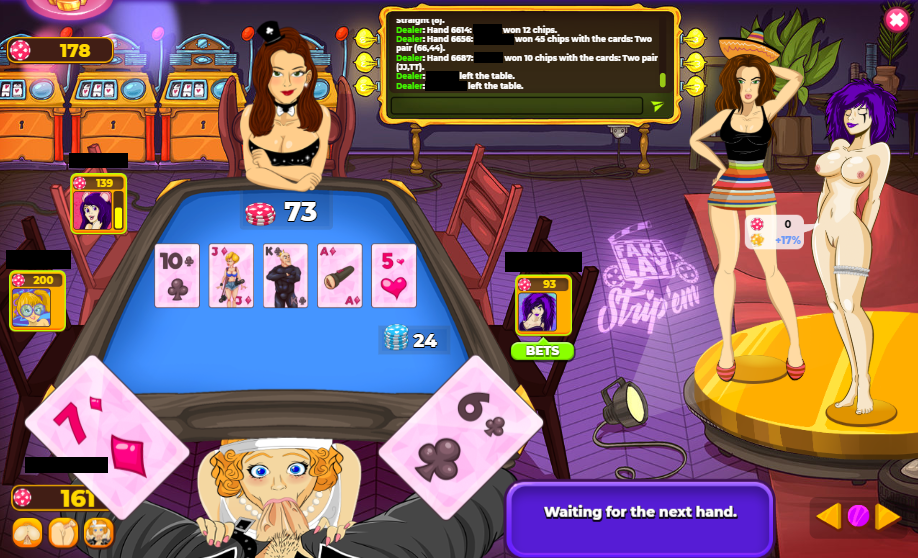
Your goal is to first build your bonus percentage. To get max percentage you will need to be the best winning hand 4 times (25% boost each, assuming you have no lost any clothing). If your hand is not the best (and not the worst) then you will gain a partial percent increase (6% per 100%, assuming no clothing has been stripped). Losing clothing will prevent you from hitting max percentage, and will lower your percentage (values depend on how many pieces you have on). When you hear the cheering audio cue you've won that hand. When the game rotates to your girl, makes her jump a bit, and strips a clothing item you've lost that hand. When the bonus is built, your new goal is to bet large on hands you are least likely to lose (and hands where you wouldn't want the other players to fold). Do not bet all of your chips if the others players can take it all in one hand. A 200 chip holder can only ever win the amount they put in from each betting person's hand they beat. In other words, a 200 chip holder cannot win 2000 chips from another chip holder in a single hand if they were to both go all in. The 200 chip holder will only gain 200 from the 2000 chip holder from an all in.
When you put down chips, these chips no longer belong to you as they belong to the pot. Previously in season 1 whatever put down on your behalf counted as chip winnings. Any profit you gain from the pot you will receive in bonus in accordance to your bonus percentage. Let's say you have 1000 chips and you decide to go all in. You have a 50% bonus percentage so if you were to win back all your chips and more, you will gain whatever chips you profited from other players + 50% extra from the profit. Previously in season 1 this was very exploitable if the other players win and have too little chips to take your 1000, then you would receive back what chips they could not take and you would also receive 50% of those "winnings." So if the other player could only gain 200 chips then you would have received 800 back and half of those for the bonus chips. As you may have noticed this bonus mechanic was very exploitable if you had a large stack of chips you've built (and assuming at least one other player took on your bet).
There is also a chatbox in the mode where you may communicate with other players and have fun but be wary of the timer and the idle kick!
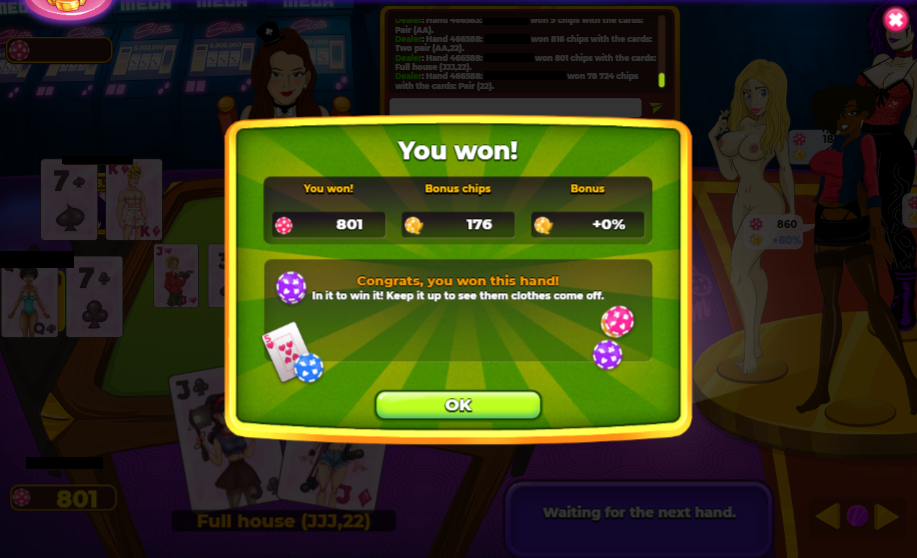

Losing in this game is not when you've lost your chips, but when your bonus percentage is gone (you're naked). You used to make chips in this game from your bonus chips, not from the players you cleaned out. You must build your chip reserves by pocketing whatever you earn from other players. Your bonus chips and percentage are located in a speech bubble where your girl is standing.
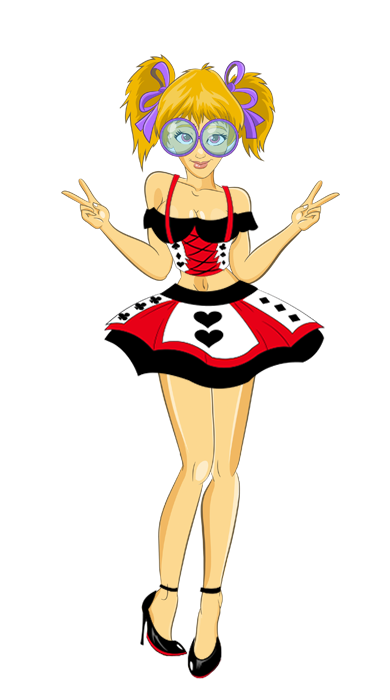
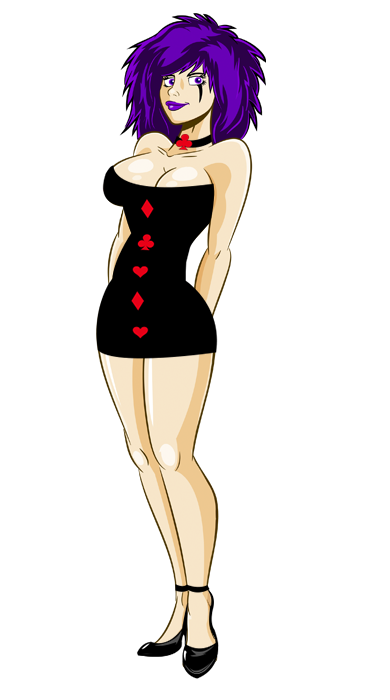
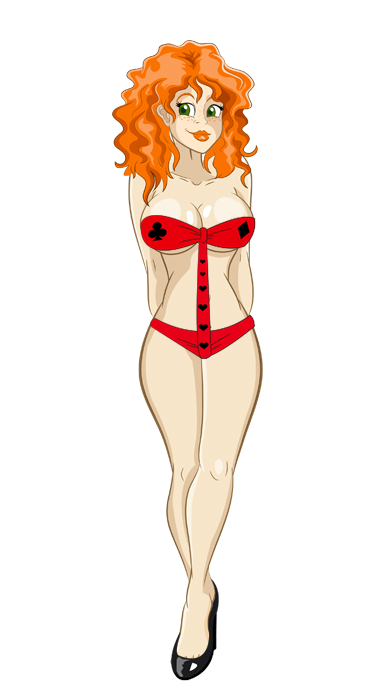
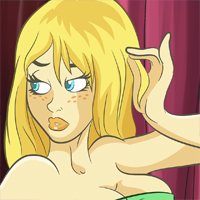
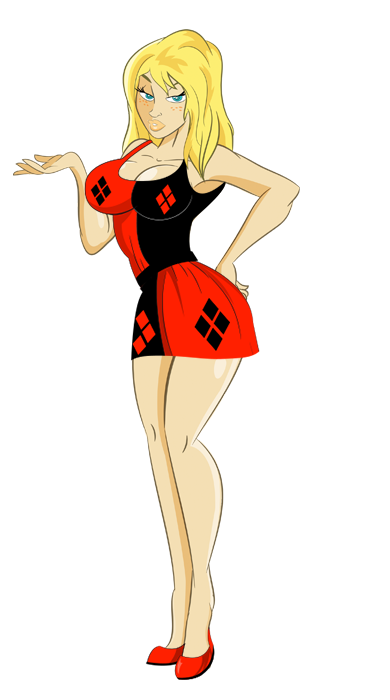
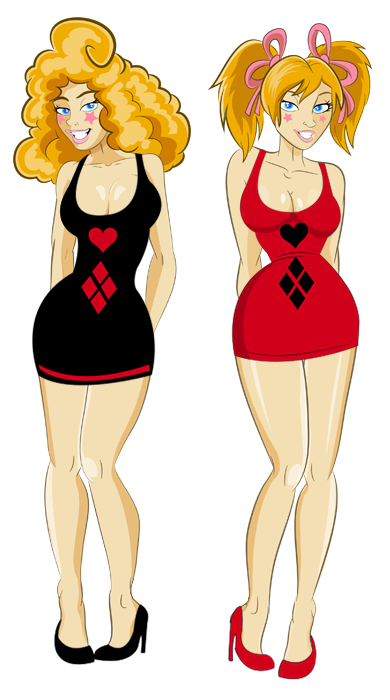
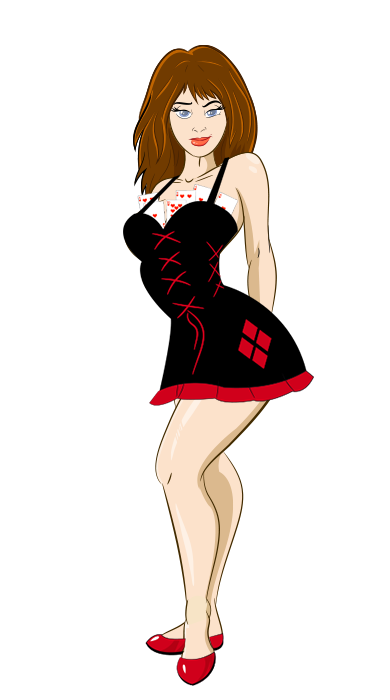
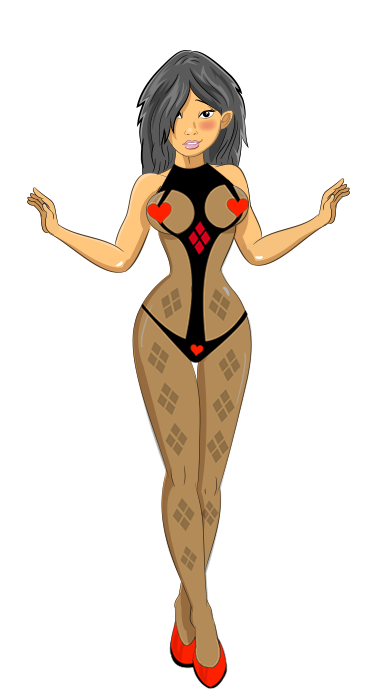
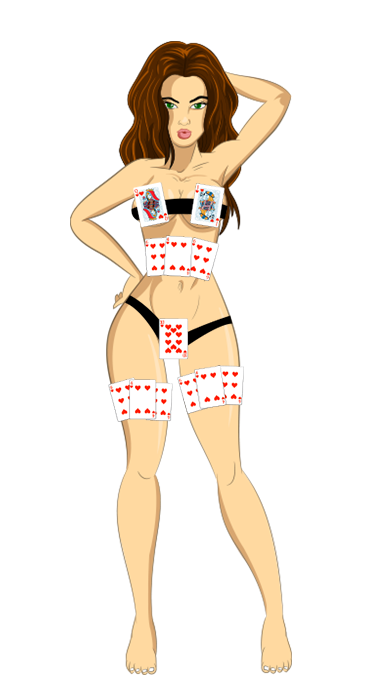
Below is a list of how many pieces of clothing each girl can wear. List is ordered from most pieces and girls are sorted by earliest to unlock (Winona, Anya, and Lin not listed):
Some clothing pieces can be replaced with clothing from the Valentine's Revival event if you don't have the in game cash to afford it. Season 1 was a great opportunity to take advantage of the Valentine's Revival. Don't worry too much about the extra clothing as it really only has an effect on Maggie.
The following pieces of clothing can be replaced with clothing from the Valentine's Revival:
For this event, it may not be a bad idea to spend diamonds purchasing accessories for a character. I recommend this only if the character you're buying accessories for is (or will be) your main girl and/or if have spare diamonds after purchasing time warps (and other resources such as extra filming rooms, energy, etc)
Girls listed below in the same format above with same exclusions and notes:
There's a special scene in during poker where the premium girl for the season will appear under the table to be performing a sex act (blow, vag, or anal) on you if you are currently holding the most chips at the table. The default sex act is a blowjob but you have a total of three options to see. Putting chips down for a bet will lower the chip amount you're holding so even if you're not doing well at the table you will have a small window to view the premium girl scene. The scene serves as more of a distraction as the game will remove the hand status of the card combination you have, and if you're enjoying the scene for too long you may run the timer out before you know it.

Big Black Jack
Now for this part of the game, Big Black Jack. As with Strip'em there is a question mark button on the top right of the box for this.
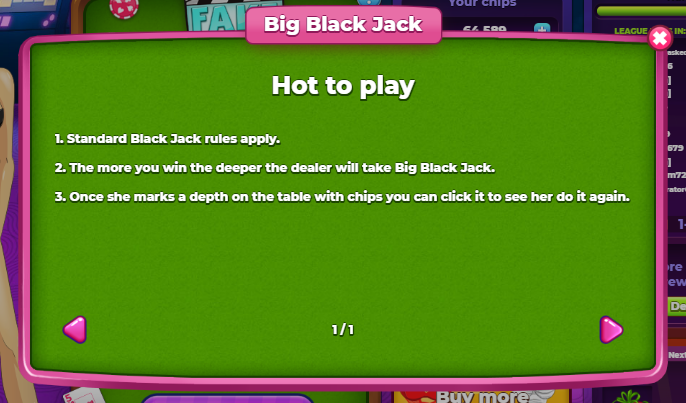
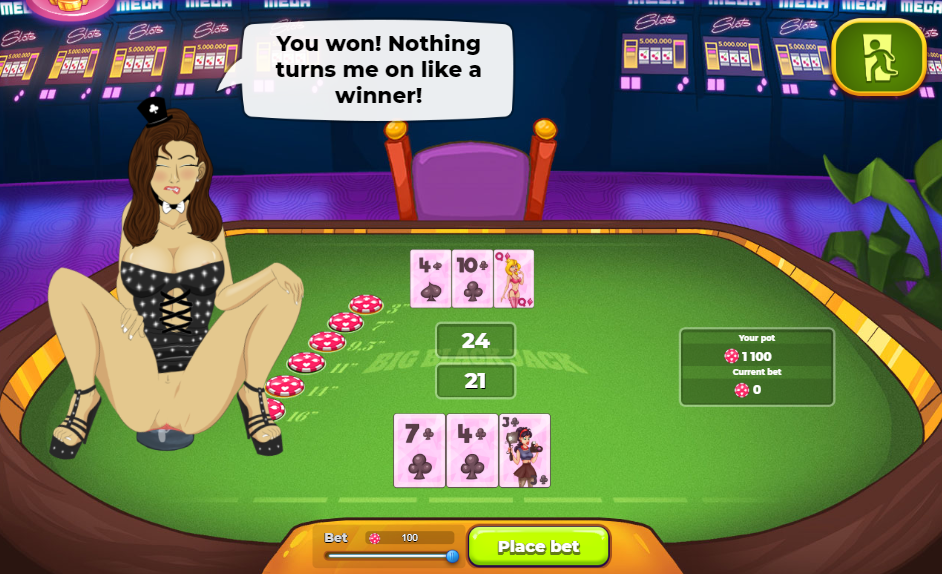
Simple enough, right? Well... Not quite. You may be mislead by "standard blackjack rules apply" but this isn't ordinary blackjack. This is multi-deck blackjack. You and the AI have your own decks. If you don't know the rules of blackjack, it's simple. You keep asking the dealer to hit you until you bust (go over 21) or until you no longer want the dealer to hit you. Multi-deck should make this more balanced but here's the problem: this AI CHEATS. You'll get some nasty loss streaks in this mode so come in when you have 5 digits worth of chips to lose. This AI often matches your number (20, 21 doesn't matter), but it can also bust if you were to have busted. You're going to lose a lot of chips in this mode. Another thing the rules don't mention is that each depth marked by the chips must be met by a threshold of chips won in your current session and this depth marked can be unmarked if you fall below the threshold. There are 7 depths to mark with chips for this mode so your total number of chips to hold will be 1100.

Depending on the starting number for the AI will determine your strategy. For example, if you're starting with a two digit number and the AI is starting with a single digit, you're better off hitting even if you're dangerously close to busting. Should aim for a number no lower than 18/19. If you have a lot of chips and don't care to lose them, go ahead and have your starting bets at 100. Shortly after this event went live, the Fake Lay team implemented a 5 minute cool down to the Big Black Jack game mode after each exit.
Even if you managed to hit the 1100 chip threshold to see all depths the Dealer takes you will have to do it all over again if you leave the table.
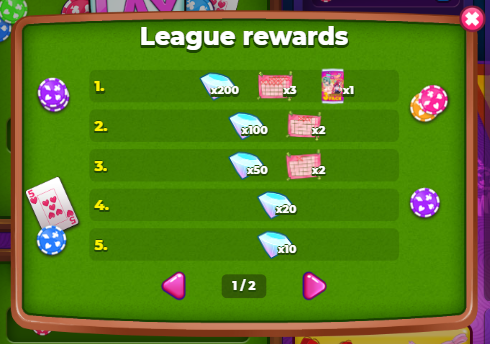
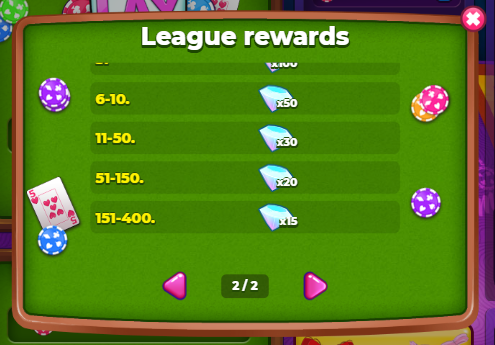
Leaderboards
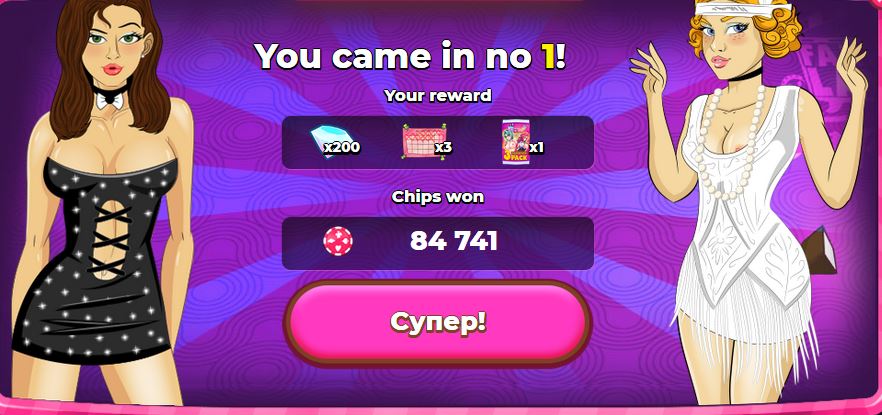
So this is a cool part to the game. The only leaderboard the players have known for a while is the league where the players' Fame points are tracked. These leaderboards here are exclusive to this event only. There is a daily leaderboard and an all time leaderboard. This event gives some very nice prizes to players who manage to make the top 3. The rewards overall are nice in general though. You must make it to the top 400 to qualify for a reward from for either leaderboard.
Daily rewards
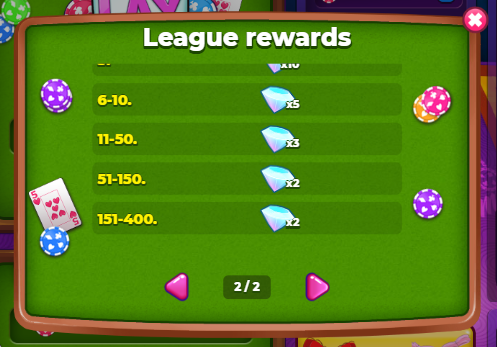
All Time rewards

So there is some false information regarding the top 3 spots in rewards. You are rewarded time skips for placing in one of the top 3 spots. However, you get one skip and the spot you're at determines the length of the skip. It is unknown if this was corrected in later seasons.
For daily:
- 1st place: 7 day skip
- 2nd place: 3 day skip
- 3rd place: 1 day skip
For the all time leaderboard the skip values were similar according to the winners however the amount of skips received appears to be unconfirmed. It's entirely possible the skip rewards were the same as the daily but the rest of the rewards such as diamonds and trading cards are confirmed to be accurate.
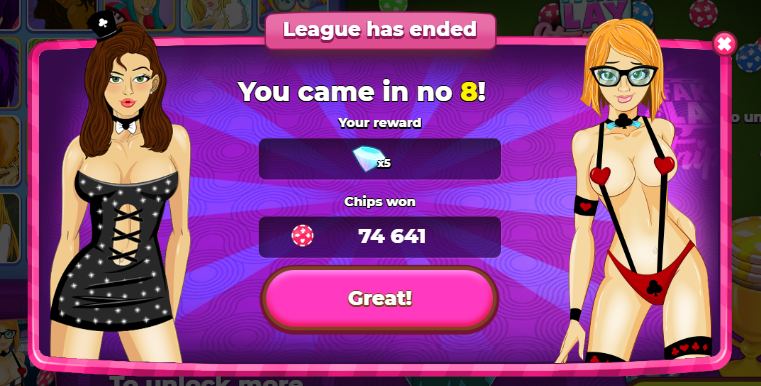
Once the leaderboard time ended, the game popped a notification for the winners informing them of their placements and rewards. Below are season 1 and season 2 popups.
Outfits
Last but not least, the outfits. Each outfit requires a certain amount of chips you've won and chips you currently have on you. The thresholds for more outfits are unknown, but players who have completed the event claim 60,000 chip winnings/30,000 chips held is enough to unlock all 20 girls. Once you meet the threshold, you may select in whichever order you want the outfits for the girls. The way the game has ordered the girls is similar to the Santa's Milk and Cookie Quest and seems to be giving off a hint to future girl(s). The requirements seem to be the same regardless of the season.
| Outfit | Winnings | On Hand |
| 1 | 200 | 200 |
| 2 | 1,000 | 800 |
| 3 | 2,500 | 2,000 |
| 4 | 6,000 | 3,500 |
| 5 | 8,500 | 4,500 |
| 6 | 11,000 | 6,000 |
| 7 | 14,000 | 7,000 |
| 8 | 16,800 | 8,400 |
| 9 | 20,000 | 10,000 |
| 10 | 22,800 | 11,400 |
| 11 | 26,000 | 13,000 |
| 12 | 28,800 | 14,400 |
| 13 | 32,000 | 16,000 |
| 14 | 35,200 | 17,600 |
| 15 | 38,400 | 19,200 |
| 16 | 41,600 | 20,800 |
| 17 | 44,800 | 22,400 |
| 18 | 48,000 | 24,000 |
| 19 | 51,200 | 25,600 |
| 20 | 56,000 | 28,000 |
Overall, the best way to make chips is through Strip'em, and taking advantage of the bonus feature while betting safely. Not much else is to be said, but it was a cool way for the community to interact with each other.
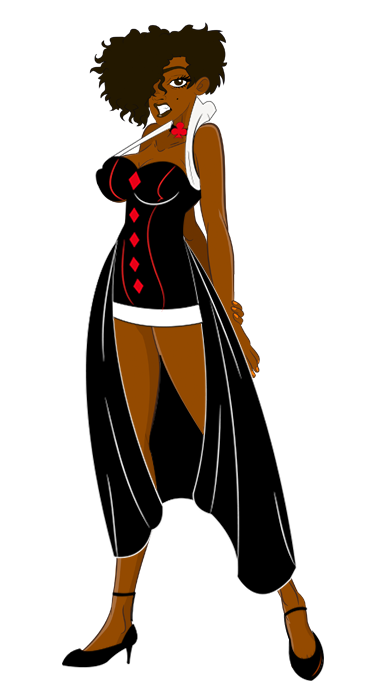
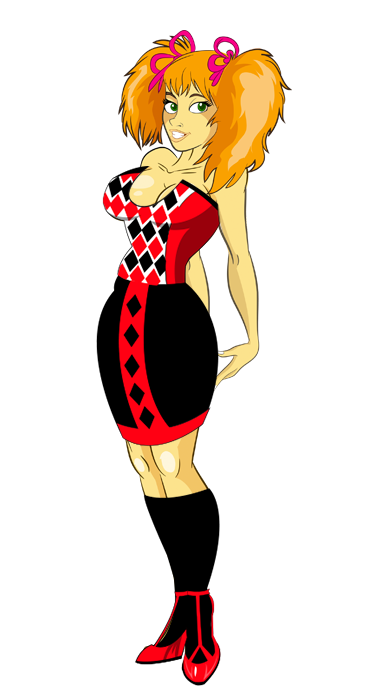
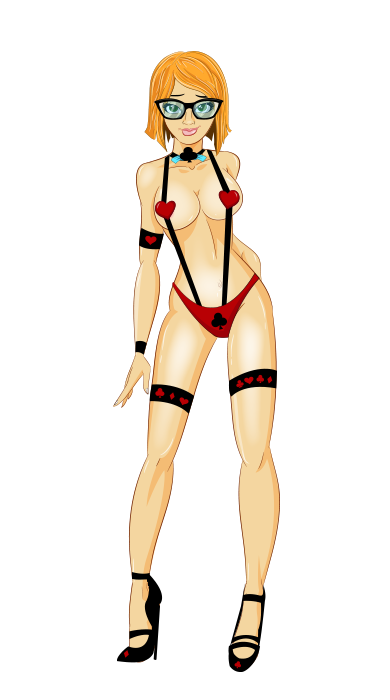
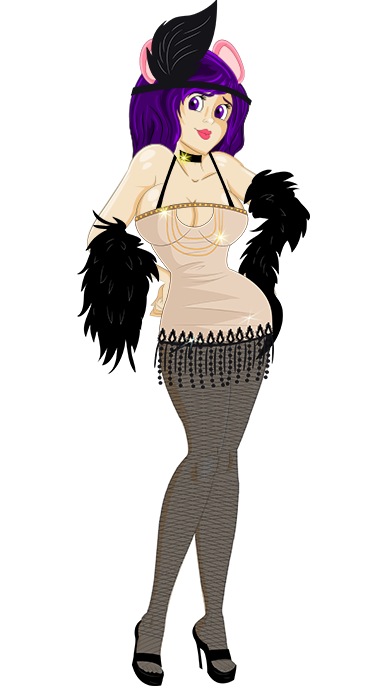
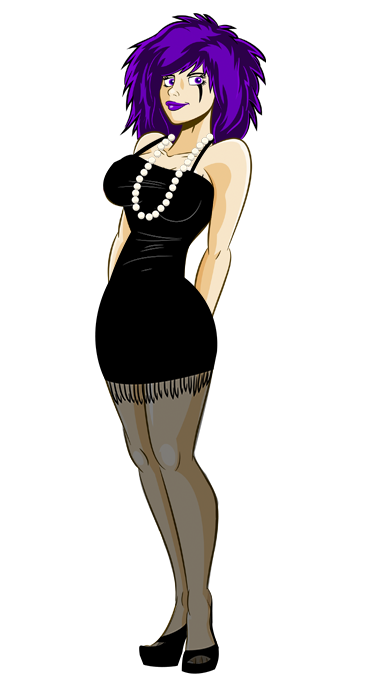
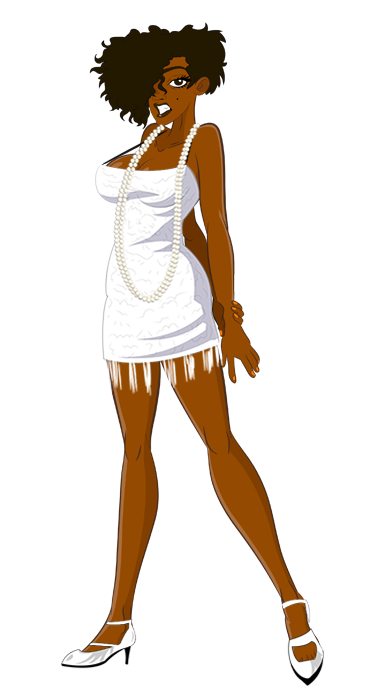
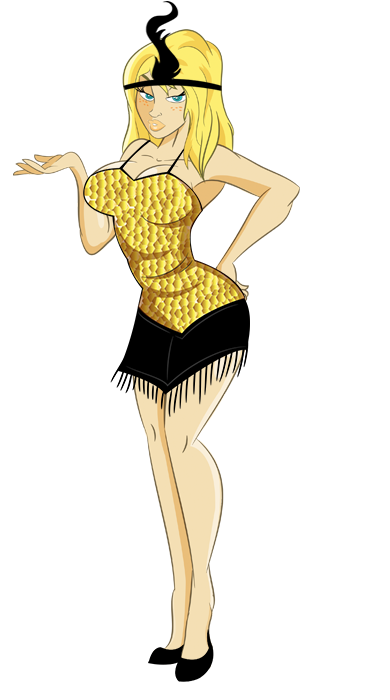
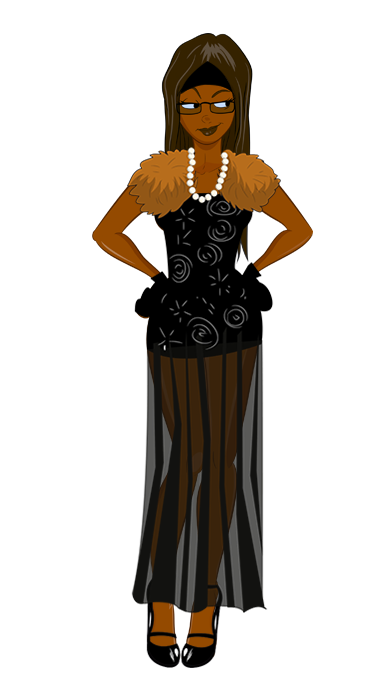
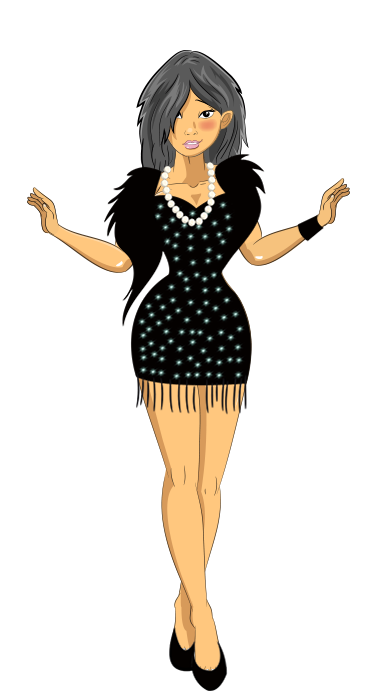
Season 1 Outfits
| Tier 1 | Tier 2 | Tier 3 | Tier 4 | ||||||||||||||||||||||||||||||||||||||||||||||||||||||||||||
|
|
|
|


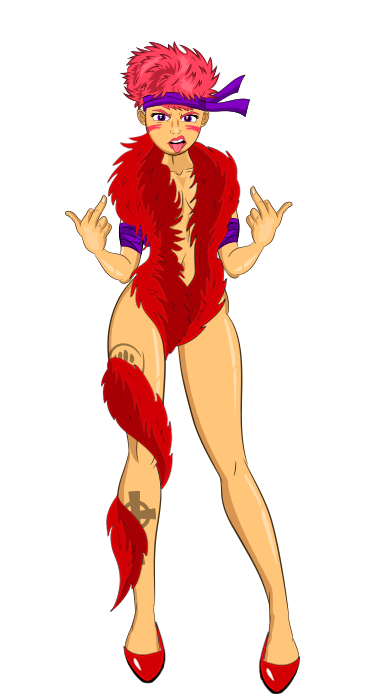
| Pro Pack | |||
|

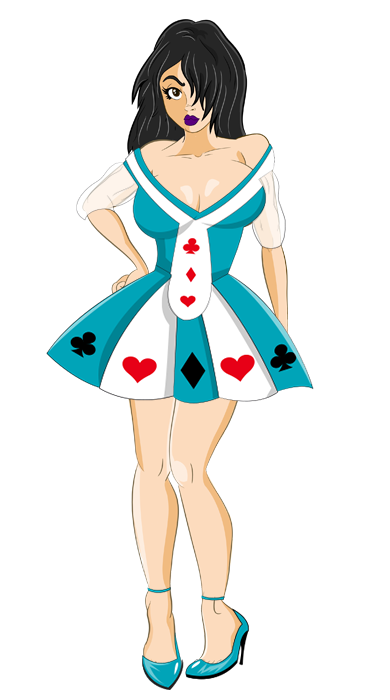
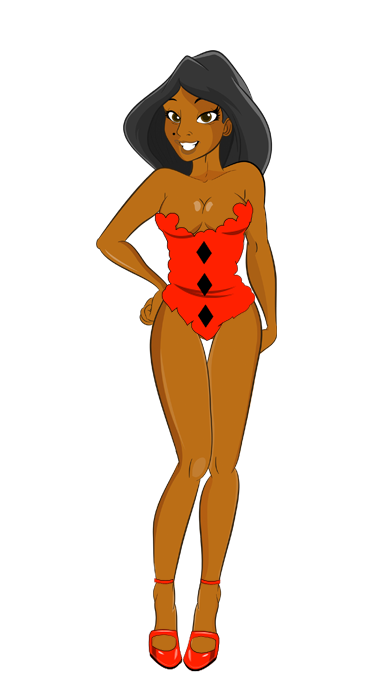
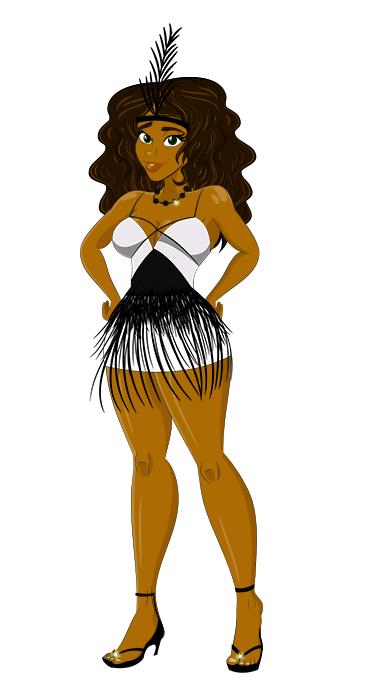
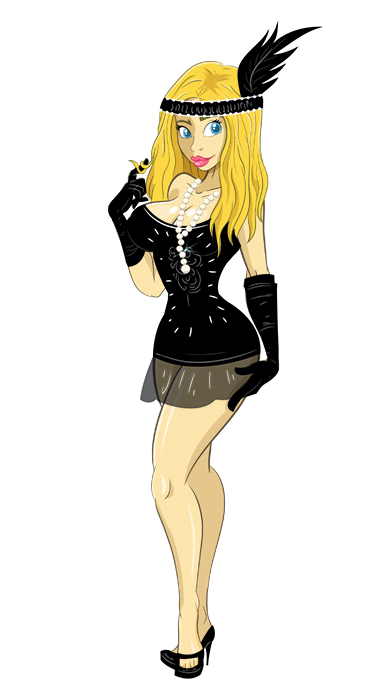
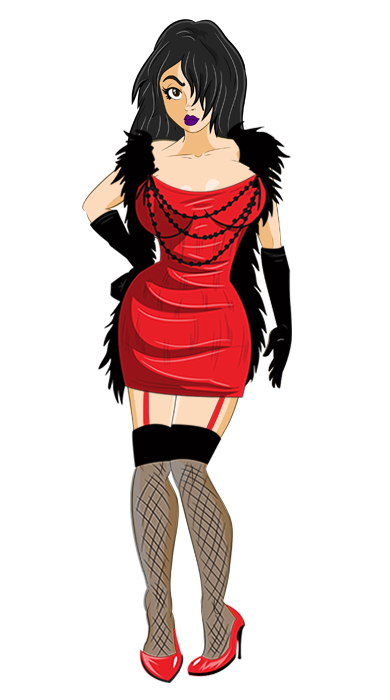
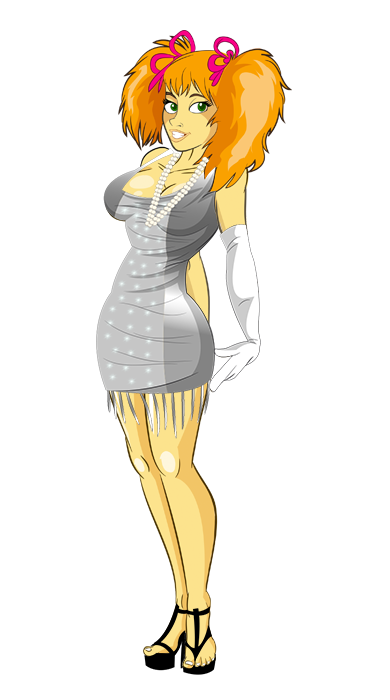
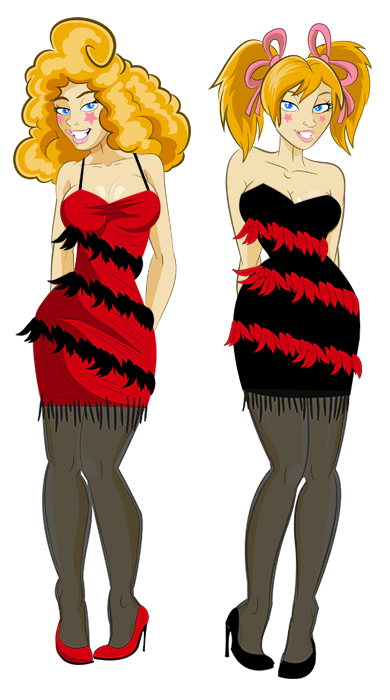
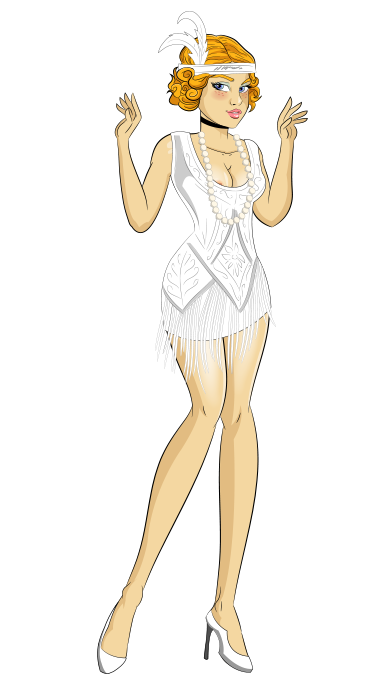
Season 2 Outfits
| Tier 1 | Tier 2 | Tier 3 | Tier 4 | ||||||||||||||||||||||||||||||||||||||||||||||||||||||||||||
|
|
|
|


| Strip'em Pack | |||
|
